Fall verification and screed correction
We check the fall to waste with a level before we start. Where the screed is flat, ponding or falling the wrong way, we correct it, because no membrane can fix a drainage problem underneath it.
The shower enclosure carries more water than the rest of the bathroom combined, and it is where almost every wet area failure begins. HydroForce seals showers across Brisbane and the Gold Coast with reinforced junctions, correct falls to waste and a full 24 hour flood test before a single tile is laid.
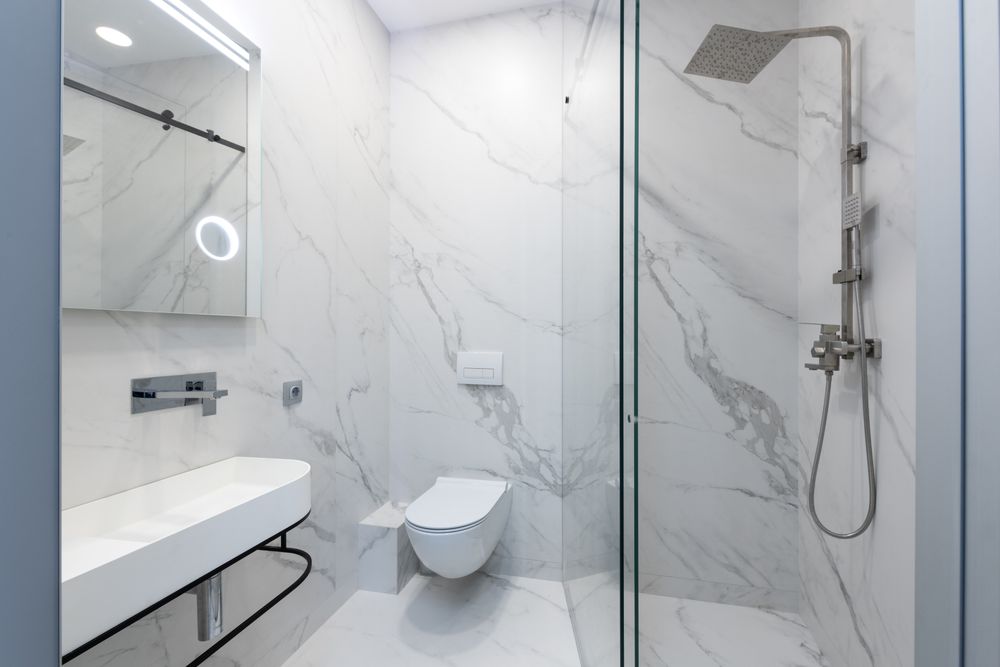
A shower is used every day, often several times a day, and each use puts warm water directly onto a vertical surface for ten minutes or more. Steam condenses on the walls, water pools on the floor, and the whole assembly heats and cools twice daily. That thermal cycling is relentless. It works away at every joint, every seal and every bond in the enclosure, and it finds any part of the system that was rushed.
There is another factor specific to modern design. Showers have changed shape. The traditional hobbed shower with a raised lip and a tiled step is being replaced by step down and hobless designs where the shower floor sits flush with the rest of the bathroom. Those layouts look excellent and they are far more accessible, but they remove the physical barrier that used to contain water. All of the containment burden shifts to the membrane and to the accuracy of the fall. If the fall is even slightly wrong on a hobless shower, water travels out of the enclosure across the bathroom floor rather than to the waste, and it does that every single day.
Linear drains raise the stakes again. A linear channel needs a consistent single plane fall across the entire shower floor, which is harder to screed accurately than a four way fall to a centre waste. The channel body itself is a long penetration through the substrate that has to be sealed continuously along both sides, not just at the ends. Done properly it is an excellent system. Done quickly it is a guaranteed leak path.
HydroForce sets out each shower before any product is opened. We confirm the fall with a level rather than by eye, check that the waste sits at the low point, verify the substrate is sound and rigid enough to carry the finish, and identify every penetration that needs a collar. Only then do we prime and build the membrane. It is a slower start and a far better finish.
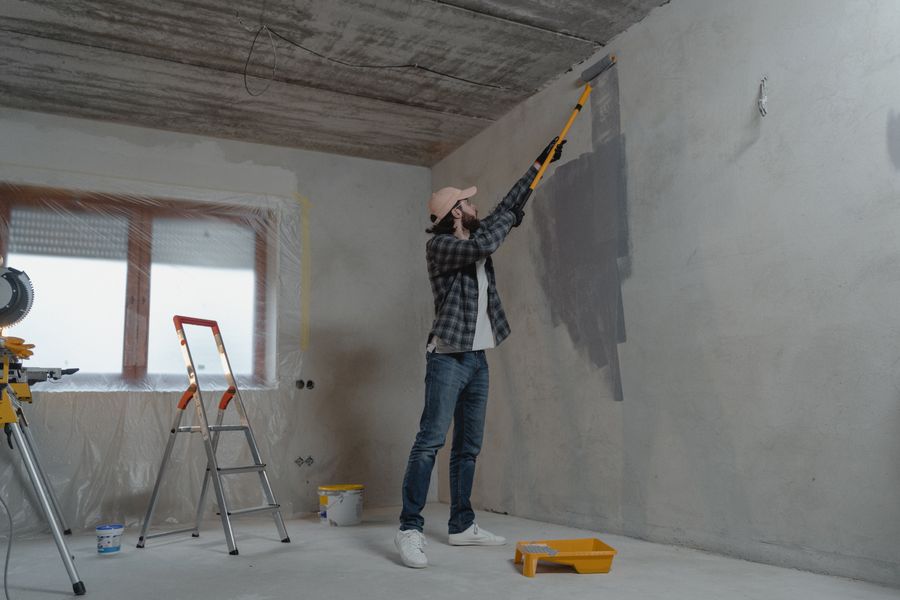
Shower enclosures get the highest specification we install. Every element below is standard on a HydroForce shower.
We check the fall to waste with a level before we start. Where the screed is flat, ponding or falling the wrong way, we correct it, because no membrane can fix a drainage problem underneath it.
The shower floor is fully waterproofed and the membrane is carried up every enclosure wall to the height required by AS 3740, with a continuous return into the floor rather than a lapped edge.
Wall to wall and wall to floor corners inside the enclosure are bond broken and bandaged. These four junctions are where the majority of shower leaks originate.
Point wastes are collared and dressed into the membrane. Linear channels are sealed continuously along their full length on both faces, then tied back into the field membrane.
Hobs are treated as separate elements and fully wrapped. Step down thresholds are reinforced across the change of plane. Shower niches are waterproofed as complete boxes including the shelf fall.
The enclosure is dammed and flooded, then left for a full day. We photograph the water level at the start and the end so there is objective evidence the system holds.
A leaking shower is usually visible outside the bathroom long before it is visible inside it. These are the symptoms we get called out to most often.
A damp patch in the carpet of an adjoining bedroom or a lifting floorboard in the hallway is a classic sign that the shower is losing water through a wall junction.
Any staining on a ceiling underneath a first floor shower needs urgent attention. Water sitting in a timber floor structure will cause structural damage long before the ceiling finally gives way.
Grout is not waterproof, but persistent cracking in the same line points to movement underneath, which means the membrane is being flexed beyond what it can carry.
If the silicone bead at the base of the screen or in the corners lifts, blackens or peels away within months of being replaced, water is getting behind it rather than sitting on it.
Corrosion at the base of a shower screen frame indicates water sitting in the track and passing into the tile bed instead of draining back into the enclosure.
Water that sits on the shower floor after use means the fall is wrong. Standing water is constant hydrostatic pressure on the membrane and accelerates any weakness in the system.
We confirm the finished floor level, check the fall to waste across the whole enclosure and mark the membrane termination heights on every wall so nothing is decided on the fly during application.
Loose screed is removed and re laid, sheeting is refixed where it moves, and the correct primer is applied to each substrate type present in the enclosure.
Bond breakers go into all internal corners and the floor to wall junction. Bandage is bedded into wet membrane rather than laid dry. Wastes, channels, mixer bodies and rail fixings are collared individually.
Coats are applied at full wet film thickness with cross rolling and proper cure time between them. The finished membrane is continuous from the top of the wall upstand into the waste.
24 hour flood test with photographic evidence at both ends, then your compliance certificate and 7 year workmanship warranty are issued and the enclosure is released for tiling.
Shower pricing is driven by geometry and drainage more than floor area. These are the factors we assess on site.
| Factor | Why it matters |
|---|---|
| Hobbed, step down or hobless | A hobless or flush shower requires a larger waterproofed area, tighter fall tolerances and additional threshold reinforcement, so it costs more than a conventional hobbed enclosure. |
| Point waste or linear channel | Linear drains need a single plane fall and continuous sealing along the full channel length, which is more labour than dressing a single round waste. |
| Screed condition | If the existing screed is flat, cracked or falling away from the waste, it has to be corrected first. This is the most common reason a shower quote moves upward. |
| Niches, benches and shelving | Every recessed niche or built in bench is waterproofed as a complete box with its own fall, which adds detailing time on top of the main enclosure. |
| Enclosure size and wall count | A three sided alcove has three internal corners. A walk through double entry shower has more perimeter, more upstand and more junction metres to reinforce. |
| New install or leak remediation | Remediating an existing leaking shower includes demolition, moisture testing, drying time and substrate rebuild before the new membrane can be installed. |
AS 3740 sets the minimum requirements for the shower enclosure specifically, and they are stricter than for the rest of the bathroom. The floor of the enclosure must be waterproofed in full. The walls must be waterproofed to a defined height above the floor. Where the shower is unenclosed, the waterproofed area extends further across the room. The junction between the wall and the floor must be sealed continuously, and every penetration through the membrane must be sealed so the system remains unbroken.
Beyond the standard, we work to the membrane manufacturer's system specification, which is what actually gives you a product warranty in addition to our workmanship warranty. That means using the matched primer, the matched bandage and the specified number of coats at the specified thickness, and allowing the stated cure times even when a schedule is tight. Substituting a cheaper bandage or skipping a primer voids the product warranty entirely, and most homeowners never find out until they try to claim.
Certified wet area systems, flood tested and documented across South East Queensland.
View serviceCertified wet area systems, flood tested and documented across South East Queensland.
View serviceCertified wet area systems, flood tested and documented across South East Queensland.
View serviceSometimes. If the membrane underneath is still sound and the water is escaping through failed grout, perished silicone or a poorly sealed waste, we can often remediate from above using a topical system and re seal the critical junctions. If the membrane itself has failed, or if moisture testing shows water in the substrate, sealing over the top only traps the problem. We inspect and moisture test before recommending either path, and we will tell you honestly which one you are looking at.
A correctly installed system in a domestic shower should perform for well beyond a decade, and many last the life of the bathroom. The variables are the quality of the substrate underneath, whether the falls drain properly, and whether the detailing at junctions was done. Membranes very rarely fail in the middle of the floor. They fail at a corner, a hob or a penetration that was never reinforced.
It is less forgiving, not inherently riskier. A hobless shower has no physical lip to contain water, so the fall and the membrane have to be right. Built correctly, it performs identically and looks far better. Built quickly, water leaves the enclosure on day one. That is exactly why we verify the fall with a level before we prime rather than after.
Yes. On remediation work we quote the strip out, the removal of the failed screed and membrane, the drying period, the substrate rebuild and the new system as one scope so you are dealing with one contractor and one warranty rather than coordinating three trades.
The membrane needs its cure time before tiling, the tile adhesive needs to cure before grouting, and the grout and silicone need to cure before the shower gets wet. As a rule of thumb, allow around seven days from the end of the flood test to first use. Your tiler will confirm based on the products they are using.
Every day. We coordinate directly with the plumber on waste and channel set out before we seal, and with the tiler on membrane cure times and start dates. Most of our residential work runs alongside other trades, so scheduling around them is routine rather than an exception.
Send your project details through and a HydroForce supervisor will call you back the same business day to arrange a site inspection.